
In just over a month my little one will turn two. While there is a small part of me that feels like the time has flown by, another, much larger part of me still feels the weight of all the days that have passed, all the days that I barely made it through and all the days I can’t clearly remember anymore. I find it hard not to yearn for the days ahead, the days when I think things will somehow get easier because she will be older… although I don’t think it really gets easier, it just changes.
Two years old also seems to be the magic number I keep hearing about where I should supposedly start yearning for another baby. I keep waiting for it to happen to no avail. Currently, the thought of having a toddler and a baby at the same time makes me want to panic, puke and hide. Even snuggling with my beautiful baby niece and consciously breathing in big whiffs of her amazing baby smell did nothing. I was perfectly content to hold her and make her giggle and perfectly content to leave and head home with only my toddler in tow. Maybe it’s the really late postpartum anxiety that didn’t get properly dealt with until about six months ago or the fact that I’m closer to 40 than I am to 30 or that I have type 1 diabetes (which itself feels like another child I have to take care of all the time). Whatever the reason (and I have many) another baby just doesn’t feel right, and that gut feeling is the one I must listen to.
Who knows, maybe three years old is my magic number?
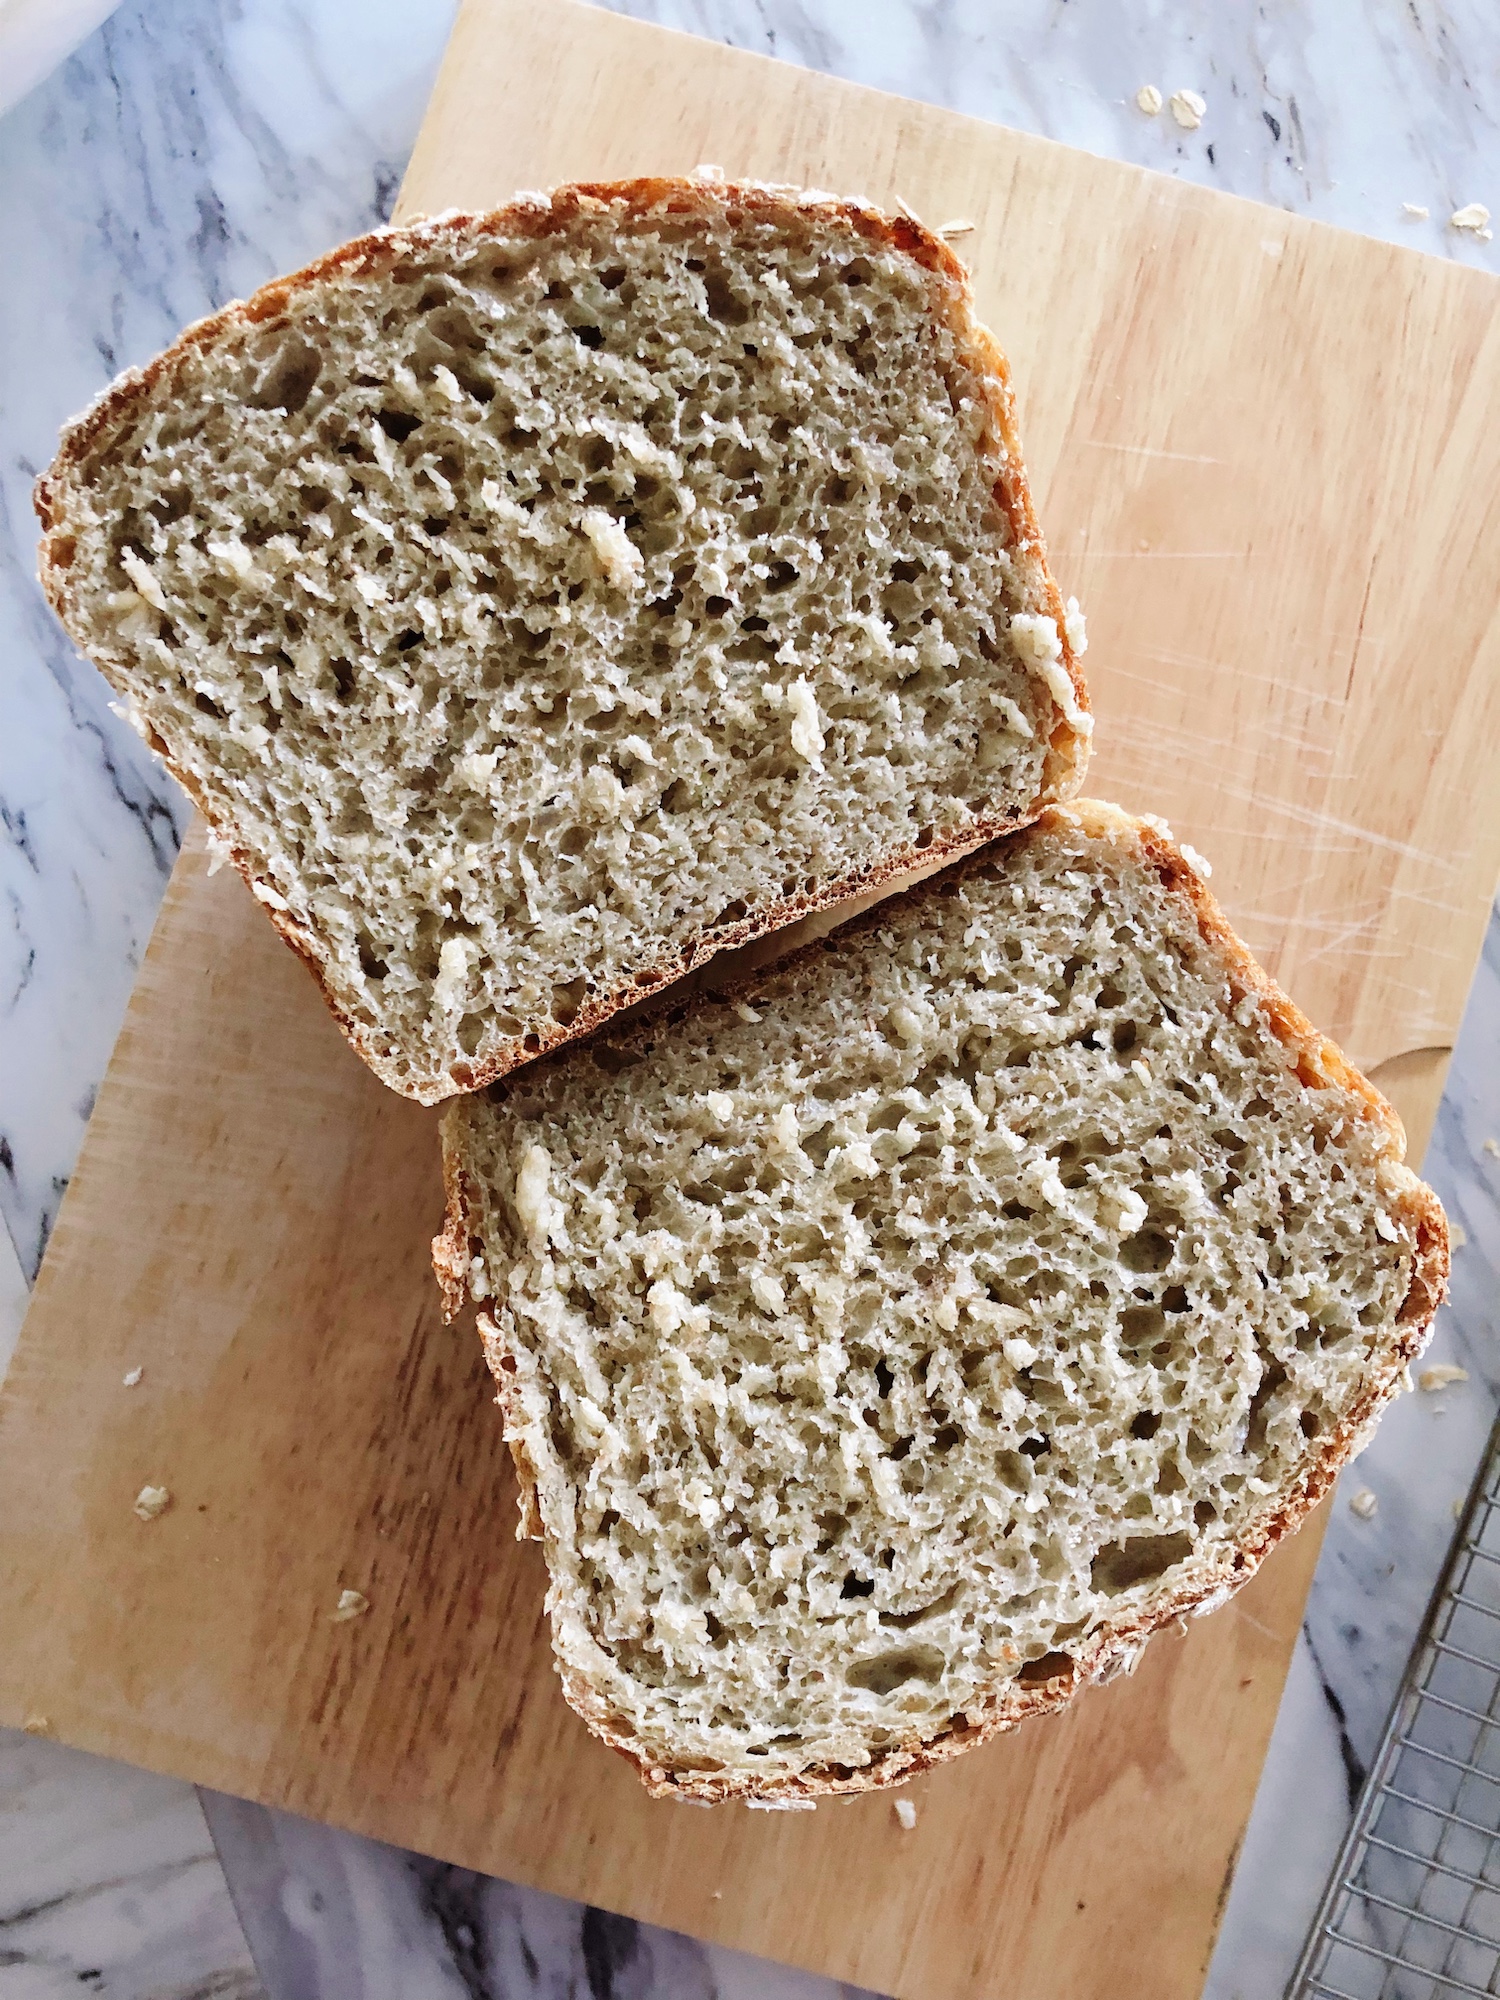
Ok enough about my existential crisis over having a second child and onto this bread (which my current child loves). It is based off a variation of my Spelt Flour No Knead Bread that I threw into the Notes section at the end, but haven’t actually made in a long time. I wanted to adapt it to create a soft, sandwich type loaf that was little work, minimal shaping or scoring and that used both all purpose wheat flour and whole spelt flour since both are far easier to find and less costly than all purpose/white spelt flour. The Oats, Honey and Spelt No Knead Bread below is just that. The whole spelt flour and extra honey add a depth of flavour and just a touch of sweetness that lends itself to be slathered with anything your heart desires. A no knead dough and simple roll up shaping makes it easy to handle and prepare. Baked in regular loaf pans at a lower temperature than most of my other bread recipes gives the entire loaf a delicious golden hue with a soft crust that won’t scatter crumbs all over your kitchen when you slice it!
Happy baking!
Sophie
If you liked this recipe you are going to love these ones!
Sunflower and Flax Seed No Knead Spelt Bread
Cinnamon Raisin No Knead Spelt Bread
Carrot Juice, Currant and Walnut No Knead Bread

Oats, Honey and Spelt No Knead Bread
Ingredients
- 200 g rolled oats
- 200 ml room temperature water assuming room temperature of 21 degrees Celsius
- 250 g organic whole spelt flour
- 750 g organic all purpose wheat flour
- 3 tsp sea salt
- 3/4 tsp instant yeast
- 750 ml room temperature water assuming room temperature of 21 degrees Celsius
- 168 g honey
- extra rolled oats for decoration optional
Instructions
-
In a medium bowl, mix the oats and 200ml of water together and let sit for 10 minutes to allow the oats to absorb the water.
-
In a large bowl whisk together the flours, salt and yeast. In a large measuring cup, measure out the water, add the honey and stir to combine.
-
Add the oats mixture to the flour mixture and break up the oats with your fingers to distribute equally. Add the honey water and mix the dough until it is completely incorporated and it sticks to your fingers. The dough will be quite wet, slack and sticky.
-
Cover the bowl with a clean dish towel and let the dough rest for 20 minutes so the flour can absorb the water. After the rest, stretch and fold the dough by grabbing a piece of it from the outside edge then gently lift and fold that piece of dough over to the other side. Continue around the dough in a clock-wise fashion until the dough has tightened a little.
-
Cover the bowl again and let it sit at room temperature until the surface is dotted with bubbles and the dough has doubled in size (approximately 7-8 hours depending on your room temperature, see note 1). Alternatively, cover the dough tightly, place in the fridge and let rise slowly overnight (see note 2).
-
Line the long sides of two loaf pans (mine are 9.5" long x 5.5"wide) with parchment so that it hangs over the long sides by about 1". Fold and crease the overhanging parchment with your fingers so that it won't touch the dough as it rises. Grease the short sides of the loaf pans with butter or cooking spray. Set aside.
-
Lightly dust a work surface with flour. Use a rubber spatula to scrape the dough out of the bowl in one piece. Cut the dough in half and using lightly floured hands gently pat each piece of dough out into a rectangle approximately 12" long and no wider than the width of the loaf pan. Roll up each piece of dough tightly and place each in the prepared loaf pans seam side down. Gently push and flatten the dough into the corners of the loaf pans. Lightly flour the top of each dough and cover both with a clean dish towel. Set aside and allow to rise until the dough rises just above the top of the loaf pans. To test if the dough is ready, press, do not poke, the tip of one floured finger quickly and lightly, about half an inch, slightly off center, into the crown of the dough. If the indentation remains but springs back slightly, the dough is ready for the oven. If the dent fills in, give the dough another 5-10 minutes to rise and re-test.
-
The second rise will take approximately 2 hours. After about an hour pre-heat the oven to 375 degrees F so the oven is thoroughly hot when the dough is ready. Place the oven rack in the second from the bottom position.
-
Remove the dish towel and mist the tops of the dough with water or use a pastry brush to apply water evenly to the tops of the dough. Sprinkle oats on top (optional). Bake for 50 minutes or until loaves are dark golden brown.
-
Remove from the oven and use the parchment paper slings to remove the bread from the hot loaf pans. Place each loaf on its side on a wire cooling rack to cool thoroughly before slicing.
Recipe Notes
- I am assuming a room temperature of 21 degrees C here. If your room temperature is higher your dough will take less time to rise, if you room temperature is lower your dough will take more time to rise. At this point you can also place the covered dough in the fridge to slow down the fermentation process. Cover the bowl tightly with plastic wrap or a plastic bag and large rubber band before placing in the fridge. Bring the dough back to room temperature and ensure it has doubled in size and the surface is dotted with bubble before continuing.
- If the timing works better for your schedule (as it does for mine) you can mix this dough in the evening, cover tightly with plastic wrap and a rubber band, place in the fridge to slowly rise overnight, then remove from the fridge in the morning and allow the dough to finish rising at this point. This will take a 3-5 hours depending on your room temperature.
- Unless you will consume all the bread within 2-3 days, cut it in half after it has completely cooled and store one half in the freezer. When you are ready for another half loaf, use your hands to moisten the entire outside with water and place in pre-heated 350F oven. Bake for 8 minutes or until the crust is hard to the touch, remove and let it finish thawing in the center. It will taste like freshly baked bread!
- To make one loaf instead of two simply divide all the ingredients in half.
